Difference between revisions of "GTS meeting 3 1 16"
Jump to navigation
Jump to search
| Line 6: | Line 6: | ||
* Latest Drawings: | * Latest Drawings: | ||
| − | * The cathode prep chamber is under vacuum with two | + | * The cathode prep chamber is under vacuum with two pucks (bulk GaAs) + one puck inside the gun |
**The bottom cathode heater works. | **The bottom cathode heater works. | ||
**We have tested several puck transfer maneuvers. | **We have tested several puck transfer maneuvers. | ||
Revision as of 09:32, 29 February 2016
- Update – Puck and Gun Magnet: media:Update-Puck-GunMagnet_01March2016.pdf media:Update-Puck-GunMagnet_01March2016.pptx
- Alpha Magnetics Drawing: media:JLAB_COIL_2-24-16.pdf
- Latest Drawings:
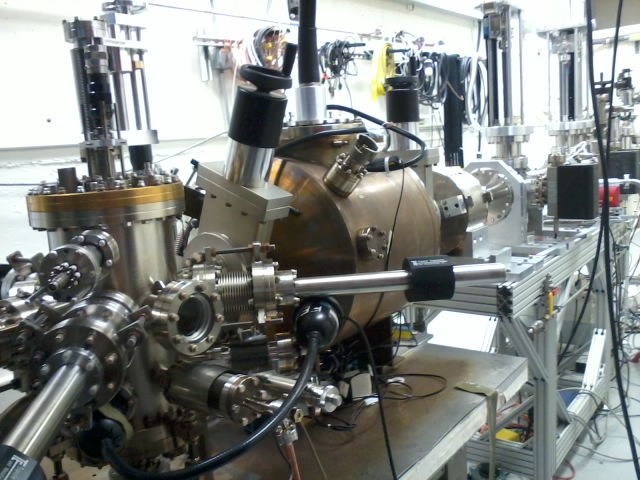
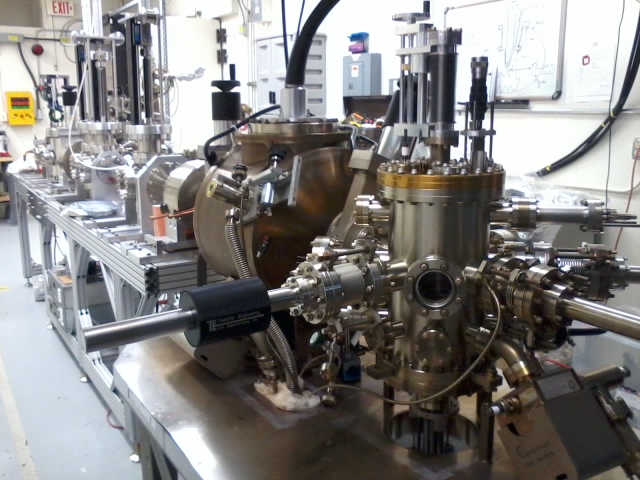
- The cathode prep chamber is under vacuum with two pucks (bulk GaAs) + one puck inside the gun
- The bottom cathode heater works.
- We have tested several puck transfer maneuvers.
- Need to adapt motor to bottom heater
- We will bring the rack from Mamun's depo chamber in the vacuum lab to the GTS for now, including the computer.
- The chamber is ready for bake.


- Shed barrel polishing update.
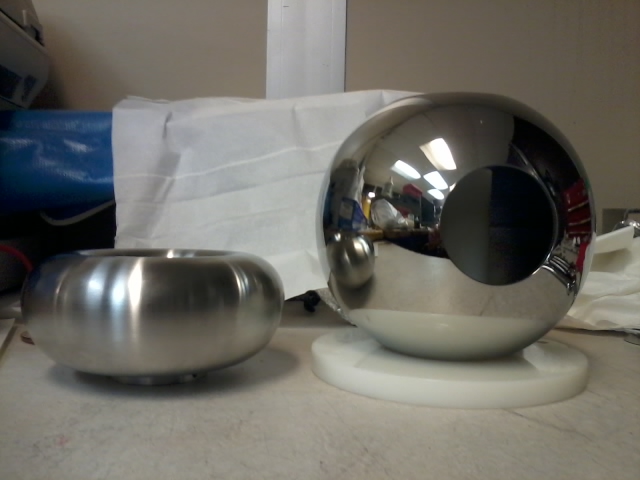
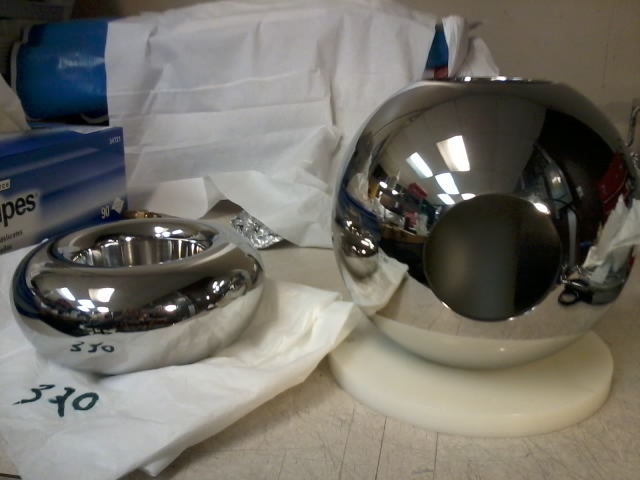
- Shed #1 was hand polished by Bubba with 320 grit sandpaper, then put into the barrel polisher for ~ 1 hr with corncob. Shed #2 was utilized just as a counterweight immersed in corncob and straight out of the machine shop with no further surface treatment. The results: Shed 1 comes out looking as if it were DPP, shed #2 comes out mirror finish, but the machining markings can still be seen, and the polishing scratches (inherent to the corncob / polishing media) are more easily seen.
- So, the procedure so far: polish with 320 grit sand paper, then ~ 1 hr in the barrel polisher with corncob.
- Next, Try cones instead of 320g grit sand paper.
- Yan's optimized shed next to UITF ball electrode before barrel polishing

- Yan's optimized shed next to UITF ball electrode after barrel polishing
