GTS meeting 3 1 16
Jump to navigation
Jump to search
- Update – Puck and Gun Magnet: media:Update-Puck-GunMagnet_01March2016.pdf media:Update-Puck-GunMagnet_01March2016.pptx
- Alpha Magnetics Coil Drawing: media:JLAB_COIL_2-24-16.pdf
- Latest Drawings (show coil clearances): media:aysg_JL0034261-MAGNETIZED_BEAM_LDRD.pdf
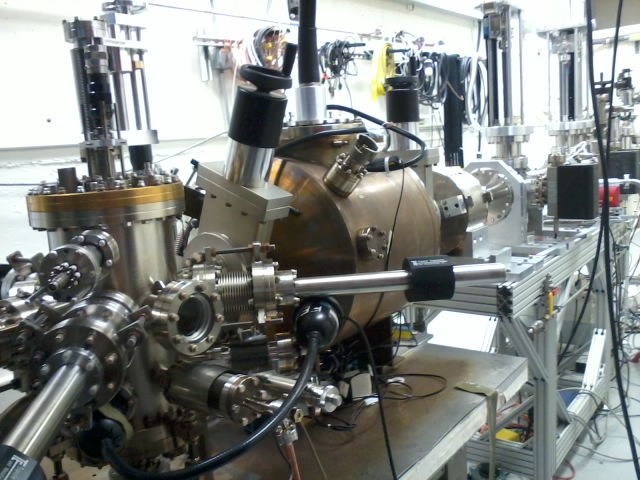
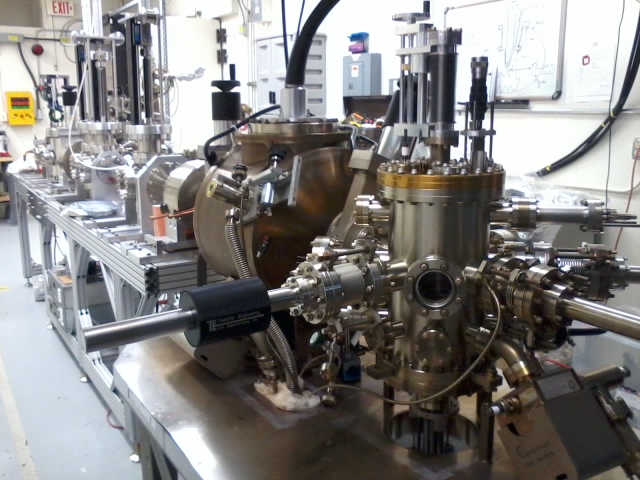
- The cathode prep chamber is under vacuum (~30 uA I/P) with two pucks (bulk GaAs) + one puck inside the gun Media:Pic Compilation.pdf
- The bottom cathode heater works.
- We have tested several puck transfer maneuvers.
- Need to adapt motor to bottom heater
- We will utilize the existing 1/2 rack to instrument the depo chamber. We have a 50 A PS from L. Phillips (is ours now). John said he could wire up one of the SOLO (we have four) controllers to run the cathode heater. We will use the pico-ammeter currently in the GTS control room to monitor photocurrent. The only thing we need to bring form Mamun's depo chamber is the battery box chassis and the computer (including its table desk).
- The chamber is ready for bake.


- Shed barrel polishing update.
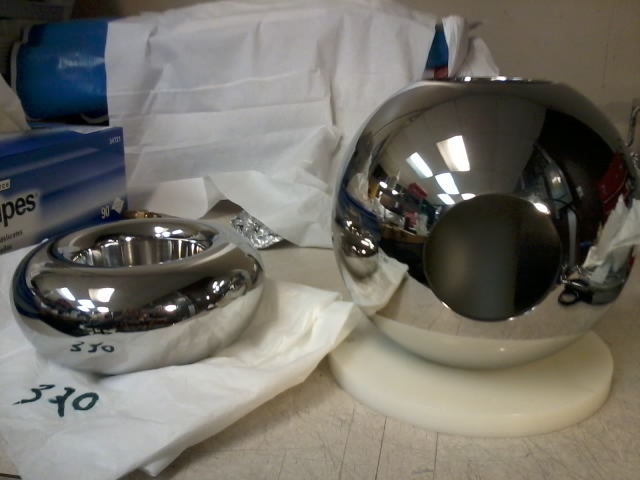
- Shed #1 was hand polished by Bubba with 320 grit sandpaper, then put into the barrel polisher for ~ 1 hr with corncob. Shed #2 was utilized just as a counterweight immersed in corncob and straight out of the machine shop with no further surface treatment. The results: Shed 1 comes out looking as if it were DPP, shed #2 comes out mirror finish, but the machining markings can still be seen, and the polishing scratches (inherent to the corncob / polishing media) are more easily seen.
- So, the procedure so far: polish with 320 grit sand paper, then ~ 1 hr in the barrel polisher with corncob.
- Next, Try cones instead of 320g grit sand paper.
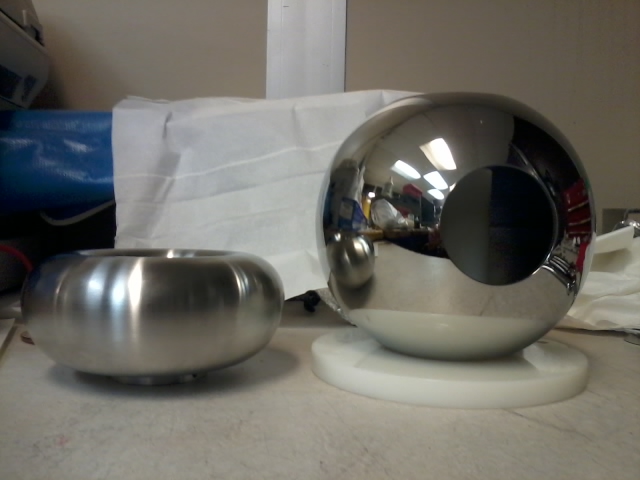
- Yan's optimized shed next to UITF ball electrode before barrel polishing

- Yan's optimized shed next to UITF ball electrode after barrel polishing
